 Pin it
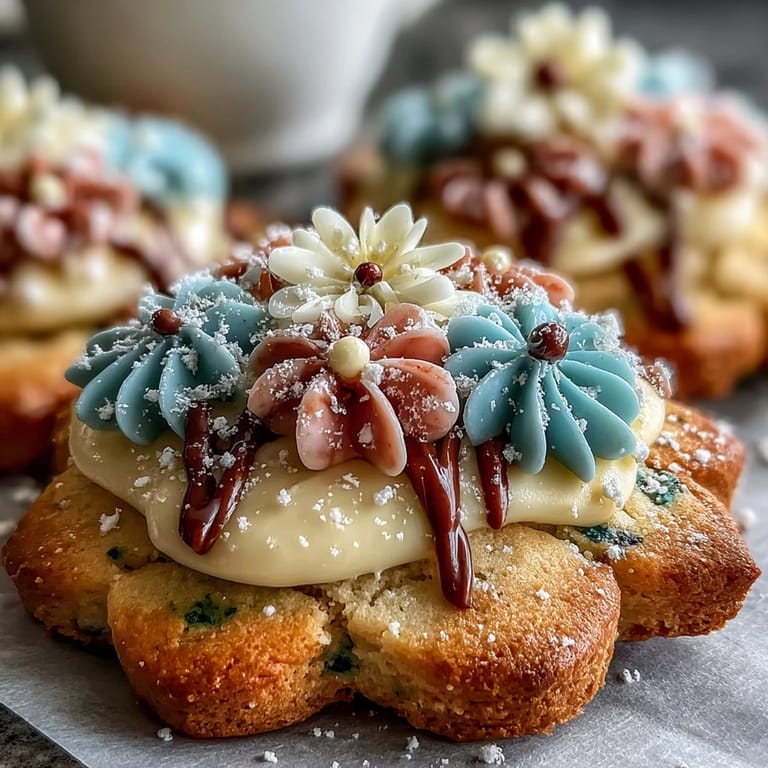
 My sister called three days before her baby shower in a mild panic—she wanted something handmade but couldn't manage a layer cake. I found myself at midnight scrolling through cookie decorating videos, completely mesmerized by how delicate royal icing flowers looked under soft kitchen light. By the next morning, I'd already mixed a batch of buttery dough, and by afternoon, my counters were covered with pale pink and lavender blooms piped onto golden rounds. There's something almost meditative about watching a simple sugar cookie transform into something that looks like it belongs in a garden.
I remember my mom watching me pipe those first flowers, skeptical at first, then genuinely impressed when she realized I'd actually made them myself. She grabbed three cookies before anyone else could touch the platter, and that moment—seeing her face light up—made all the piping practice worth it. Suddenly these weren't just cookies; they were tiny edible gifts that felt personal and crafted.
Ingredients
- All-purpose flour (2 1/2 cups): The foundation of a tender, rollable dough that holds delicate shapes without spreading too much during baking.
- Unsalted butter (3/4 cup, softened): This is non-negotiable—softened butter creams properly and gives you that golden, melt-in-your-mouth texture that makes sugar cookies sing.
- Granulated sugar (3/4 cup): Provides structure and sweetness without overpowering the vanilla, letting the royal icing flowers become the real flavor star.
- Large egg (1): Acts as a binder and adds richness that keeps cookies tender rather than cakey or dry.
- Pure vanilla extract (2 teaspoons): Use real vanilla, not imitation—it makes a noticeable difference in that subtle, sophisticated flavor.
- Baking powder (1/2 teaspoon): Just enough to give cookies a slight lift without making them cake-like.
- Powdered sugar (3 cups, sifted): The base of royal icing, and sifting it first prevents lumps that would ruin your smooth, glossy finish.
- Egg whites (2 large or 1/4 cup pasteurized): If you're nervous about raw eggs, pasteurized liquid egg whites work perfectly and eliminate any worry.
- Food coloring (pastel shades): Less is more with coloring—start with a toothpick dab and build up, or your icing will look artificial instead of soft and pretty.
Tired of Takeout? 🥡
Get 10 meals you can make faster than delivery arrives. Seriously.
One email. No spam. Unsubscribe anytime.
Instructions
- Whisk your dry ingredients together:
- Combine flour, baking powder, and salt in a bowl—this distributes the leavening evenly so your cookies bake uniformly. It takes 30 seconds and makes a real difference.
- Cream butter and sugar until fluffy:
- This should take about 2–3 minutes with an electric mixer; you're looking for something light, pale, and almost cloud-like. This aeration is what keeps cookies tender.
- Add the egg and vanilla:
- Beat these in until the mixture looks smooth and slightly glossy, then gradually add your dry ingredients, stirring just until everything is combined. Don't overmix or you'll develop gluten and end up with tough cookies.
- Chill the dough:
- Wrap it in plastic and let it sit in the fridge for at least an hour—this prevents the dough from spreading all over the baking sheet when it hits the heat. I usually do this overnight if I have time.
- Roll, cut, and bake:
- Preheat to 350°F, roll dough to 1/4-inch thickness on a floured surface, cut with your favorite shapes, and bake 10–12 minutes until edges just turn golden. The centers should still look slightly underbaked—they'll firm up as they cool.
- Make your royal icing:
- Beat egg whites until foamy, gradually add sifted powdered sugar and extract, and keep beating until stiff peaks form and the icing is glossy and thick. This takes about 5 minutes with an electric mixer.
- Tint and adjust consistency:
- Divide icing into bowls and add food coloring drop by drop, stirring well—pastel shades need very little coloring. Thin some with water for flooding the background, keep some thick for piping delicate flowers.
- Pipe your flowers:
- Use a small round tip for dots and dots-in-circles, a petal tip for actual flower shapes, and a fine tip for stems and leaves. Work slowly and let each layer dry slightly before adding another layer on top.
- Let everything dry completely:
- This takes several hours or overnight—resist the urge to touch them or they'll smudge. Patience here is what makes the final result look professionally done.
 Pin it
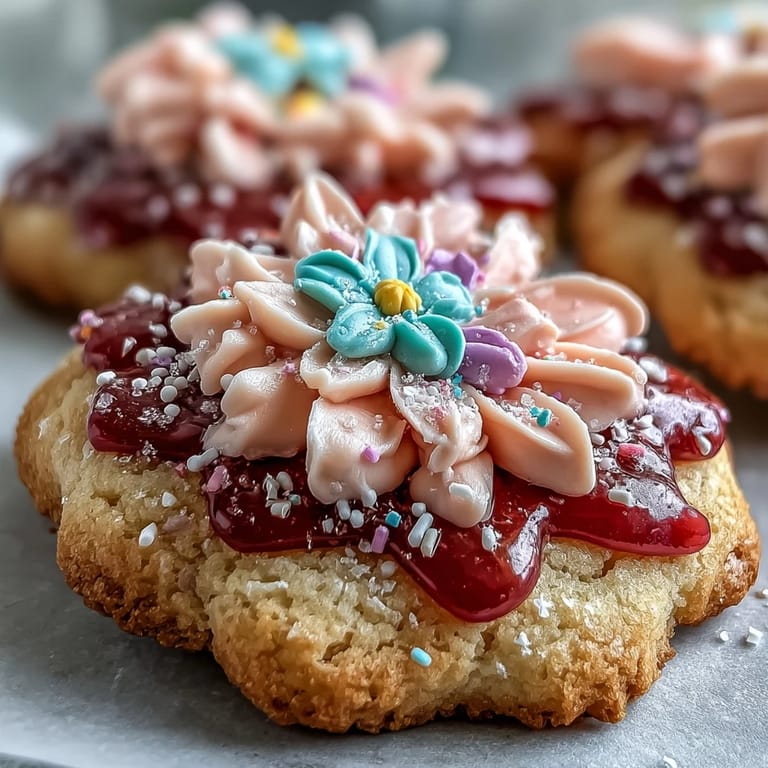
 Three weeks later, someone sent me a photo of one of my cookies sitting on the baby's nursery shelf—not eaten, just displayed like a tiny work of art. That's when I realized these cookies had become keepsakes, little tokens of love that looked almost too pretty to eat.
Flavor Variations to Explore
The basic dough is wonderfully versatile once you understand it. I've added 1/2 teaspoon of almond extract to deepen the flavor, swapped vanilla for lemon zest for spring, and even experimented with a hint of cardamom one winter holiday. Each variation keeps the texture perfect while shifting the taste just enough to feel fresh and interesting.
Making Royal Icing Flowers Feel Less Intimidating
The truth is, piping flowers looks harder than it is. I started by watching one 10-minute video and then practicing on parchment paper before touching an actual cookie. After my fifth flower, my hand stopped shaking and the shapes stopped looking like abstract blobs. If you pipe flowers first on parchment, let them dry completely, then glue them onto cooled cookies with a tiny dab of fresh icing, you get a second chance if something doesn't look right.
Storage, Timing, and Serving Suggestions
These cookies stay fresh in an airtight container for up to five days, which means you can bake them two days before an event and decorate the morning of. I like to pair them with light herbal tea—chamomile or rose hip—which echoes the delicate, springtime feel of the decorated cookies. They also photograph beautifully, so if you're making them for social media or an event, shoot photos in soft natural light before anyone eats them.
- Stack cooled, undecorated cookies between parchment sheets to prevent sticking if you're storing them before decorating.
- Transport decorated cookies in a single layer in a flat container with a fitted lid to prevent icing damage during travel.
- If you're making these for a baby shower, consider any dietary restrictions among guests and prepare a few plain, undecorated cookies as alternatives.
 Pin it
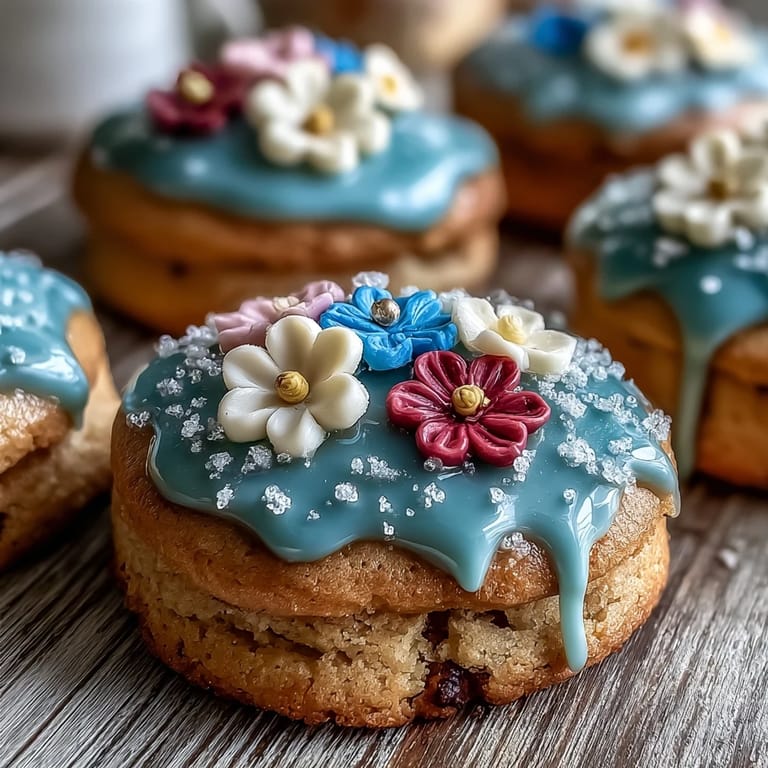
 Every time someone bites into one of these cookies, there's that moment where their face shifts from admiration of how pretty it is to surprise at how buttery and delicate it tastes. That combination—beauty and flavor together—is why I keep coming back to this recipe.
Recipe FAQs
- → What is royal icing made of?
Royal icing is made from powdered sugar and egg whites, whipped until glossy and stiff peaks form. It dries hard, perfect for detailed decoration.
- → How do I achieve pastel colors in the icing?
Use gel food coloring sparingly to tint the icing lightly, mixing until the desired soft shade appears without overpowering the texture.
- → Can I prepare the icing flowers in advance?
Yes, pipe flowers on parchment and allow them to dry completely before transferring to the cookies or storing separately.
- → What’s the best way to store these cookies?
Store in an airtight container at room temperature for up to five days to maintain freshness and texture.
- → How thick should the cookie dough be rolled?
Roll the dough to about 1/4 inch (6 mm) thickness for even baking and a tender bite.