 Pin it
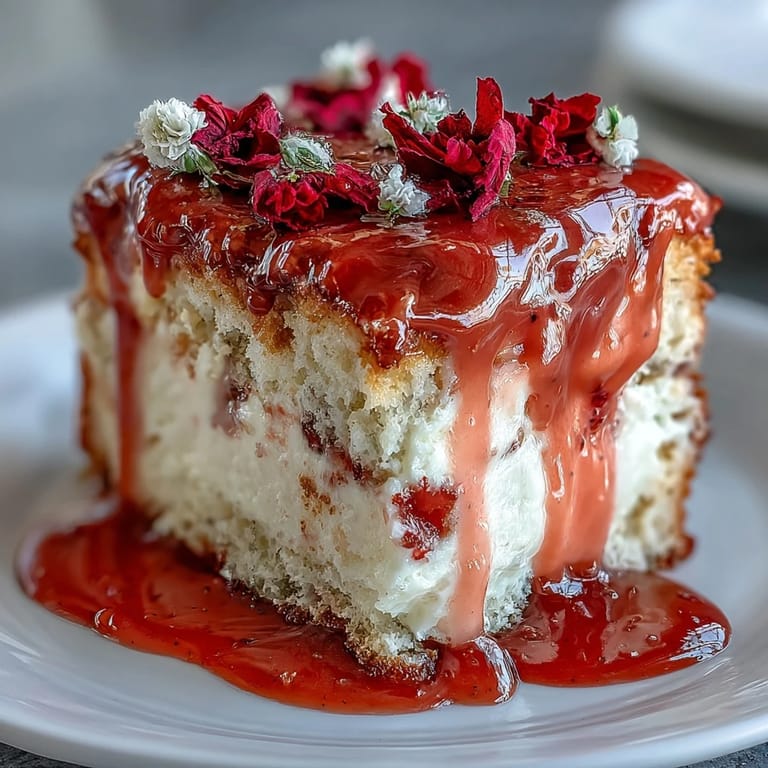
 My sister called three days before Mother's Day in a panic—she'd promised Mom a homemade cake and suddenly realized she had no idea where to start. I found myself at her kitchen counter at 7 PM on a Thursday, pulling out flour and butter, talking her through how we'd create something that looked like it belonged in a fancy bakery but tasted like pure love. That's when I discovered this pink ombre cake, and honestly, it became the moment we both realized that fancy doesn't have to mean complicated.
I'll never forget frosting this cake while my sister arranged flowers on the kitchen table, both of us laughing at how we'd somehow made something so beautiful together. When Mom opened the door that Sunday morning and saw it sitting on the dining room table with those delicate blooms scattered across the pink layers, she got tears in her eyes before even tasting it. That's when I understood—this cake isn't just dessert, it's a love letter you can eat.
Ingredients
- All-purpose flour: The backbone of a tender crumb; make sure it's fresh because old flour can make cakes feel dense and heavy.
- Baking powder: This is your lift, so don't skip it or halve it—those ¼ teaspoons matter more than you'd think.
- Unsalted butter: Room temperature is non-negotiable; cold butter won't cream properly and you'll lose that light, fluffy texture.
- Granulated sugar: Creaming it with butter creates tiny air bubbles that make the cake rise and stay tender.
- Eggs: Also room temperature so they blend smoothly without deflating all that air you just worked into the batter.
- Pure vanilla extract: The real stuff matters here—it's what makes people ask what's in this cake because the flavor is so warm and genuine.
- Whole milk: Brings moisture and richness that balances the structure; whole milk specifically creates a slightly more tender crumb than skim.
- Powdered sugar: Must be sifted before mixing into buttercream or you'll get little lumps that won't smooth out no matter how much you beat it.
- Gel food coloring: Use this instead of liquid because gel won't thin out your buttercream, keeping it perfectly spreadable.
- Edible flowers: Choose pansies, violets, or rose petals—make sure they're truly edible and pesticide-free if you're buying them fresh.
Tired of Takeout? 🥡
Get 10 meals you can make faster than delivery arrives. Seriously.
One email. No spam. Unsubscribe anytime.
Instructions
- Get your pans and oven ready:
- Preheat that oven to 350°F and grease three 8-inch round pans, then line the bottoms with parchment paper so the cakes release cleanly. This step takes two minutes but prevents the heartbreak of a stuck cake.
- Combine your dry ingredients:
- Whisk flour, baking powder, and salt together in a bowl—this distributes the leavening evenly so you get consistent rise across all three layers. Set it aside and move on.
- Cream butter and sugar until it's pale and fluffy:
- Beat them together for 3–4 minutes on medium speed until it looks almost like fluffy sand and the bowl feels warm. You're literally whipping air into the butter here, which is what makes the cake tender and gives it that beautiful crumb.
- Add eggs one at a time, beating well:
- This takes patience but it matters—each egg needs to fully incorporate before you add the next one, creating an emulsion that keeps everything from separating. Don't rush it even though it feels tedious.
- Add the vanilla and alternate the flour and milk:
- Start with flour, then milk, then flour, always ending with flour—this protects the batter from becoming too thin and losing structure. Mix on low speed just until combined because overmixing develops gluten and makes cakes tough.
- Divide and bake:
- Pour the batter evenly into your three pans and bake for 25–30 minutes until a toothpick comes out clean and the tops are golden. Let them cool in the pans for 10 minutes, then turn them out onto racks to cool completely—rushing this step makes the cake crumbly.
- Make the buttercream base:
- Beat the room temperature butter on high speed for 2–3 minutes until it's pale and creamy, then gradually add sifted powdered sugar on low speed. Once it starts coming together, add vanilla and milk, then beat on high for about 3 minutes until it's cloud-like and spreadable.
- Create your ombre shades:
- Divide the buttercream into four bowls—leave one white and add increasing amounts of gel food coloring to the others, stirring each until you have a gradient from pale pink to deep pink. Take your time here because this is where the magic happens visually.
- Stack and frost with purpose:
- Place the first cake layer on your serving plate and spread the darkest pink buttercream on top, then add layer two with medium pink, then layer three with light pink on top. Use your remaining white buttercream to frost the sides, creating a beautiful contrast.
- Smooth and blend if you're feeling fancy:
- Use an offset spatula to smooth the top and sides, and if you want that blended ombre effect cascading down the sides, use a bench scraper to gently blend the colors together. This is optional but it takes the cake from pretty to absolutely stunning.
- Decorate with flowers:
- Arrange your edible flowers on top and around the cake, placing them just before serving so they stay fresh and vibrant. If using non-edible toppers, remember to remove them before anyone takes a bite.
- Chill before slicing:
- Pop the finished cake in the fridge for 30 minutes so the frosting sets and you get clean, beautiful slices instead of frosting smears. This is the hardest step because it will smell incredible, but trust the process.
 Pin it
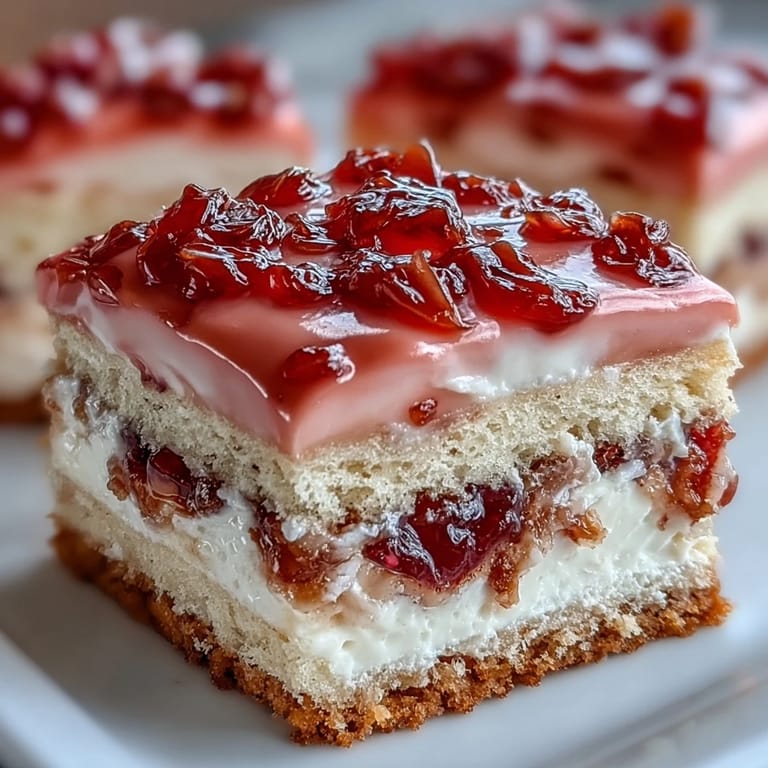
 There's something about watching someone's face light up when they see a cake you made yourself that changes how you think about baking forever. My sister now makes this cake for every celebration, and she sends me photos of different color ombres and flower combinations—turns out this recipe became the bridge between us and the kitchen we never knew we wanted.
The Secret to Perfect Cake Layers
The best thing I learned is that cake layers need to cool completely, and I mean completely, before you frost them. I once tried to frost a warm cake to save time and the buttercream melted right off in sad little puddles while I stood there cursing myself. Now I cool the cakes, make the buttercream, and sometimes I even pop the layers in the freezer for 15 minutes before frosting so they're extra sturdy and the frosting grabs hold like it should.
Working with Ombre Buttercream
The ombre effect sounds complicated but it's really just about having patience and not overthinking it. You don't need to be perfectly precise with the color gradients—nature isn't perfectly precise either, and that's actually what makes it look real and beautiful. If your shades aren't evenly spaced, nobody will notice except you, and honestly that's the mark of someone who actually cares enough to look closely.
Flower Decorating and Final Touches
Fresh edible flowers transform this cake from pretty to absolutely show-stopping, but you need to know the difference between edible and decorative flowers because serving someone an inedible flower is awkward at best. Buy from specialty food stores or farmers markets where they actually know what they're selling, and always ask if they're safe to eat. Add them just before serving so they stay perky and perfect, and always remove any non-edible toppers before bringing the cake to the table.
- Pansies and violets are the most reliable edible flowers and they're actually prettier than roses because of their delicate size.
- If you can't find fresh edible flowers, skip the decoration rather than guess—the cake is stunning without them.
- A sparkling rosé pairs beautifully with this cake and the combination somehow makes everything feel more celebratory.
 Pin it
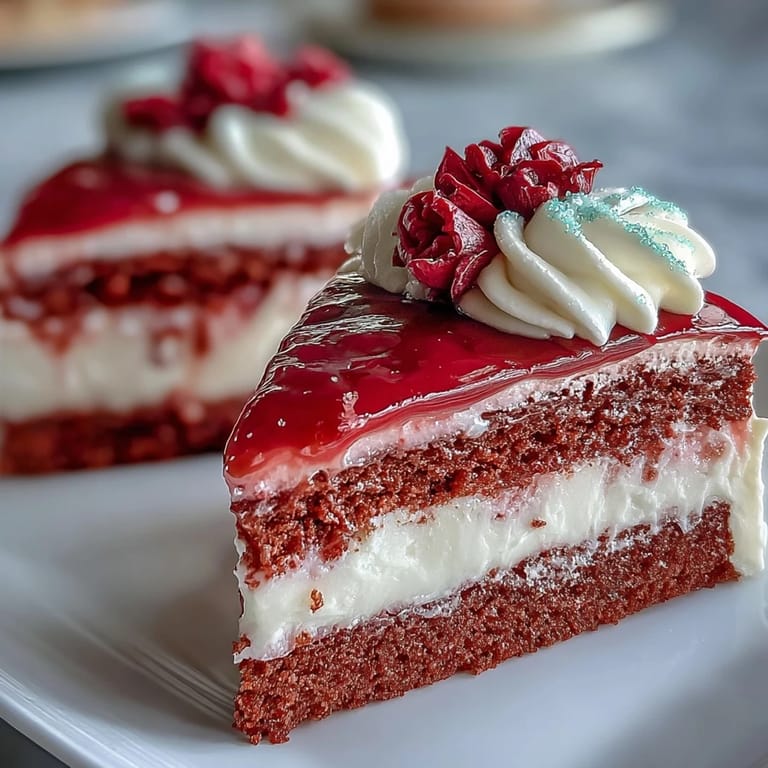
 This cake taught me that creating something beautiful for someone you love isn't about perfection—it's about showing up with flour on your shirt and butter under your fingernails because you cared enough to try. Make this for Mother's Day, make it for a birthday, make it just because someone in your life deserves to know how much they matter.
Recipe FAQs
- → How do I achieve the pink ombre effect on the buttercream?
Divide the buttercream into portions and gradually add increasing amounts of pink food coloring to each. Apply the darkest shade on the bottom layer, medium in the middle, and the lightest on top, blending smoothly for the ombre gradient.
- → What is the best way to ensure a tender vanilla sponge?
Cream the butter and sugar until light and fluffy, add eggs one by one, then alternate dry ingredients and milk to maintain moisture and a tender crumb.
- → Can I prepare the cake layers ahead of time?
Yes, bake and cool the layers completely, then wrap them tightly and store in the refrigerator for up to two days before assembling and frosting.
- → What types of edible flowers work well for decoration?
Violets, pansies, and rose petals are popular choices; ensure they are pesticide-free and safe for consumption.
- → How can I get cleaner cake slices?
Chill the finished cake for at least 30 minutes before slicing, and use a sharp knife wiped clean between cuts for neat portions.