 Pin it
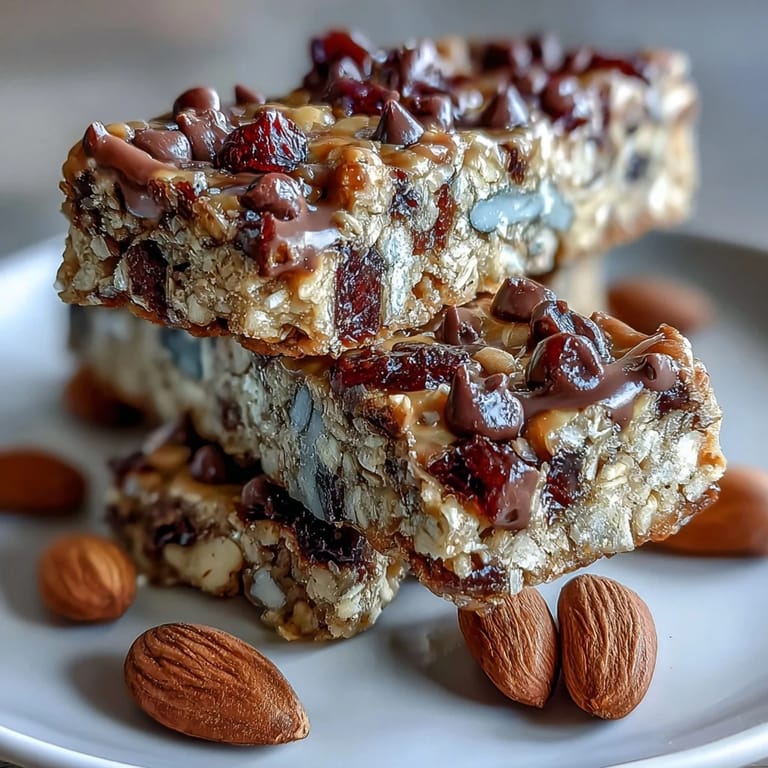
 Last summer, I was frantically packing for a camping trip when my friend texted asking what snacks I was bringing. I stood in my kitchen staring at the pantry, realizing I'd procrastinated and had zero store-bought options that felt special enough. That's when I grabbed a saucepan, honey, and whatever mix-ins I could find, and thirty minutes later had these chewy, satisfying bars that everyone devoured around the campfire. They've been my go-to ever since—no oven required, just time and a cold fridge.
I made these once for my daughter's soccer team, and watching twelve kids reach for their second bar before the practice even ended told me everything I needed to know. One parent even asked for the recipe, which felt like winning the kitchen lottery. Now they're requested for every school event, and I've learned to make a double batch because one always mysteriously disappears before I can pack them up.
Ingredients
- Old-fashioned rolled oats: The backbone of these bars—they give you chew and substance, so don't swap for instant.
- Crisp rice cereal: This keeps things light and airy while adding a satisfying crunch that contrasts beautifully with the chewiness.
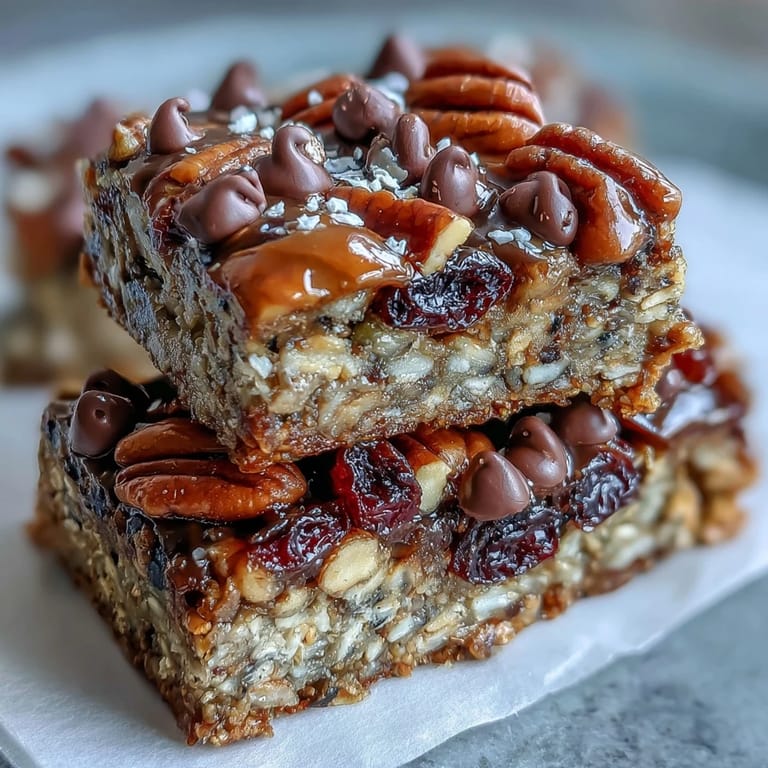
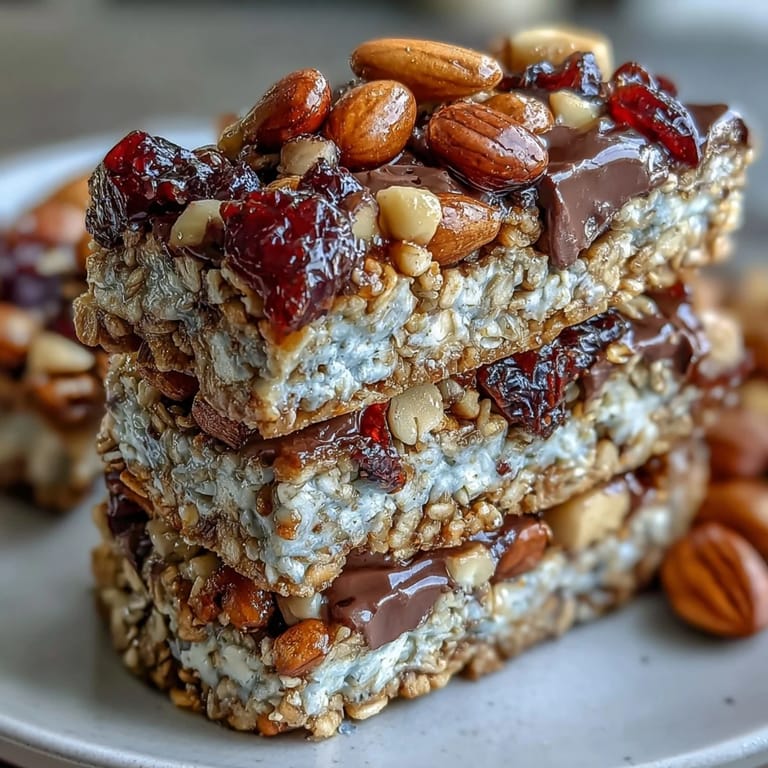
- Mixed nuts: Almonds, walnuts, or pecans work great; I like using a combination because you get different flavors in each bite.
- Dried fruit: Cranberries, raisins, and apricots add natural sweetness and chewiness—pick whatever sounds good to you.
- Unsweetened coconut: This is optional but adds tropical depth and a subtle texture that elevates the whole thing.
- Honey or maple syrup: This is your binder and sweetener; honey gives a richer flavor while maple syrup makes them slightly firmer.
- Peanut butter or almond butter: This creates the sticky base that holds everything together and adds protein and richness.
- Vanilla extract: Just a teaspoon rounds out the flavors and makes everything taste more intentional.
- Mini chocolate chips: Optional but honestly? They're the secret ingredient that makes people ask for the recipe.
- Chia or flaxseeds: These boost nutrition quietly without changing the flavor or texture.
Tired of Takeout? 🥡
Get 10 meals you can make faster than delivery arrives. Seriously.
One email. No spam. Unsubscribe anytime.
Instructions
- Prep your pan like you mean it:
- Line your 8-inch square baking pan with parchment paper, letting it overhang on all sides so you can lift the whole thing out later without wrestling with it. This step saves you from sticky frustration and broken bars.
- Combine all the dry components:
- Toss your oats, rice cereal, nuts, dried fruit, coconut, and salt into a large bowl and mix until everything is evenly distributed. You're basically building the flavor foundation here, so make sure nothing's hiding in the bottom.
- Warm the wet ingredients together:
- In a small saucepan over low heat, let the honey and peanut butter get cozy for about 2 to 3 minutes, stirring often until it's smooth and pourable. This is where the magic happens—the mixture becomes this golden, cohesive binder that's going to hold everything together.
- Marry wet and dry:
- Pour that warm mixture over your dry ingredients and stir like your life depends on it until every oat and nut is glistening and coated. If something feels dry, you can always add another drizzle of honey, but go slowly.
- Add chocolate chips strategically:
- If you're using chocolate chips, wait 2 to 3 minutes for the mixture to cool slightly before stirring them in so they don't turn into a puddle. This is a learned lesson from melted chocolate situations I'd rather forget.
- Press into the pan firmly:
- Transfer the mixture to your prepared pan and press it down evenly with a spatula or the flat bottom of a measuring cup, making sure it's compact so your bars hold together. The pressure here is what transforms loose mixture into bars that don't crumble when you bite into them.
- Dress them up if you want:
- Sprinkle extra chocolate chips or chopped nuts on top and press them in gently so they stick around. This is purely for looks and a little extra something, but it makes them feel intentional.
- Chill and set:
- Pop the whole pan in the fridge for at least an hour, though overnight is even better because it gives the binder time to really set up. Patience here means bars that don't fall apart, which is worth the wait.
- Cut and store:
- Lift the bars out using the parchment overhang and cut into twelve pieces with a sharp knife, cleaning the blade between cuts if things get sticky. Store them in an airtight container in the fridge for up to a week, though they usually disappear much faster.
 Pin it
 There was this one afternoon when my neighbor stopped by and I offered her a bar with coffee, and she got so quiet I thought something was wrong. Turns out she was just savoring it, and then she asked if I could make them for her daughter's wedding favors. That moment made me realize these bars are more than just a convenient snack—they're the kind of small gesture that people remember.
Why This Works Without an Oven
No-bake recipes feel like a magic trick the first time you make them, but the science is straightforward: you're relying on refrigeration and the natural binding power of fat and sweetness instead of heat. The peanut butter and honey create a structure that sets firm when cold, while the oats and rice cereal absorb just enough of the wet mixture to stay cohesive. It's honestly one of the most forgiving techniques in cooking because there's no risk of burning or overbaking, which means even if you're new to this, you're going to succeed.
Customization That Actually Works
The beauty of these bars is that they're a canvas, not a rigid formula. I've made them with everything from pistachios to dried mango, swapped the peanut butter for tahini when someone had an allergy, and even added a pinch of cardamom because I was feeling fancy. The ratio of oats to binder is what matters—as long as you keep that balance, you can play with almost anything. The only real rule is don't go overboard with add-ins or you'll end up with a mixture that won't hold together properly.
Storing and Serving Smart
These bars live in the fridge because they soften at room temperature, which honestly isn't a tragedy but does change the texture. I've found that they're best eaten straight from the cold, when they have that perfect chew, though room temperature ones work fine for on-the-go snacking. For longer storage, you can even freeze them in a sealed container for up to a month, which has saved me more than once when someone unexpected shows up hungry.
- Cut them into individual portions and wrap each one in parchment or plastic wrap for grab-and-go convenience that actually lasts.
- If they harden too much after a few days, let them sit out for 10 minutes before eating and they'll soften back to the ideal texture.
- Double the batch and keep some in the freezer so you always have emergency snacks ready when you need them.
 Pin it
 These bars have become my answer to every snack emergency, every road trip, and every moment when I need something that tastes homemade but doesn't require a recipe card I haven't lost yet. Make them once and you'll understand why they stick around in rotation.
Recipe FAQs
- → Can I substitute the nuts in these bars?
Yes, you can swap mixed nuts for alternatives like sunflower seeds for a nut-free option or choose your favorite nut varieties.
- → How do I store these bars to keep them fresh?
Store the bars in an airtight container in the refrigerator for up to one week to maintain freshness and texture.
- → Is it possible to make these bars vegan?
Use maple syrup instead of honey and opt for dairy-free chocolate chips to keep the bars vegan-friendly.
- → Can I add spices for extra flavor?
Yes, spices like cinnamon or cardamom can be added to the dry mixture to enhance the flavor profile.
- → What equipment is needed to prepare these bars?
A large mixing bowl, small saucepan, 8-inch square pan, parchment paper, spatula, and a knife are all you'll need.